Create a Sandbox Tenant
If you want to experiment with Azure Active Directory, you really should set up a sandbox tenant for your experiments. This way, your learning won't interfere with your production environment. So, if you're ready to learn Azure more quickly and more safely let's get started!
When I first started working with Azure, it wasn't clear to me what relationship, if any, a sandbox tenant would have to my production tenant. To be clear, tenants don't have any relationship to each other unless you create one.
You can set up a new Azure AD tenant whether you already have access to an existing Azure tenant or you're just getting started with Azure. These instructions presume that you're already accessing Azure Portal from your company's tenant. If you want to create a tenant without logging in to an existing tenant first, start here instead: https://azure.microsoft.com/en-us/free/
Create a New Azure Tenant
-
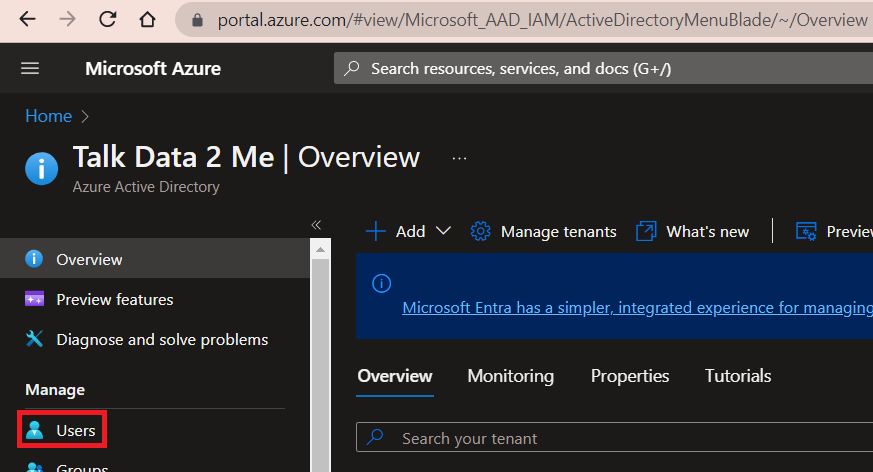
Open the Azure Portal, search for Azure Active Directory and open it. If the Azure Active Directory blade has been disabled by your tenant administrator, you will need to create a "free" Azure account as-per above.
-
From the Azure Active Direcory Blade, click Manage tenants.

-
From Manage tenants, click Create
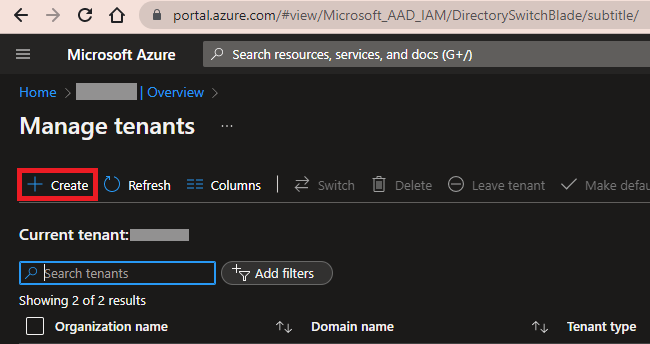
-
For Tenant type keep the default selection Azure Active Directory and click Next: Configuration >
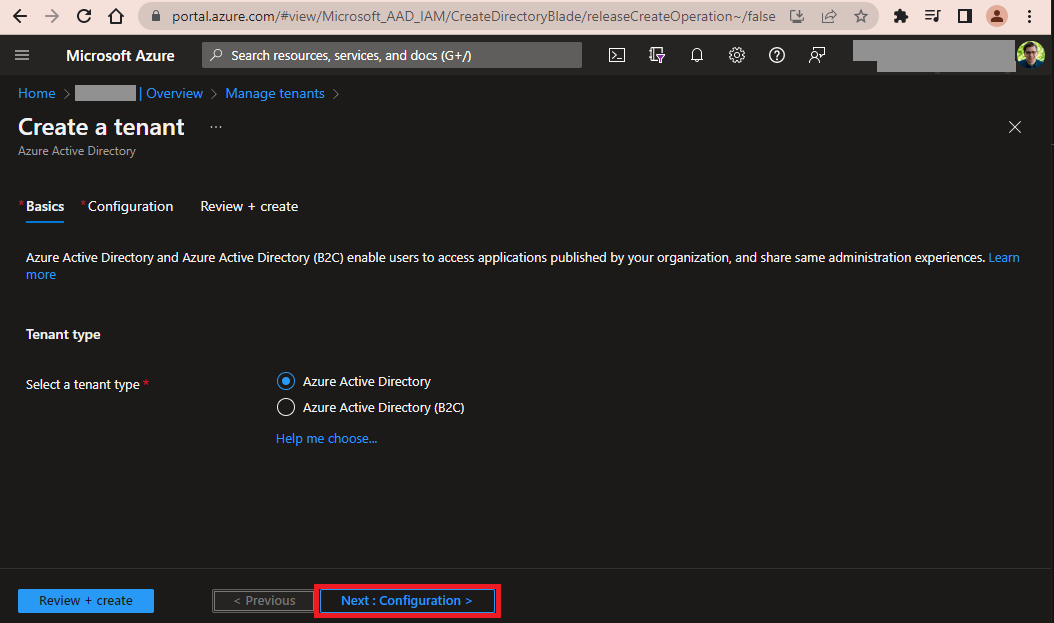
-
Fill out your Organization name, Initial domain name and Country/Region. Organization name is the display name of your organization. This may or may not be the same as your initial domain name. The initial domain name will be in the .onmicrosoft.com name space (for example talkdata2me1.onmicrosoft.com.) The is a permanent, unique and perpetual namespace in Azure. But you can also associate your tenant with a custom DNS domain name later.
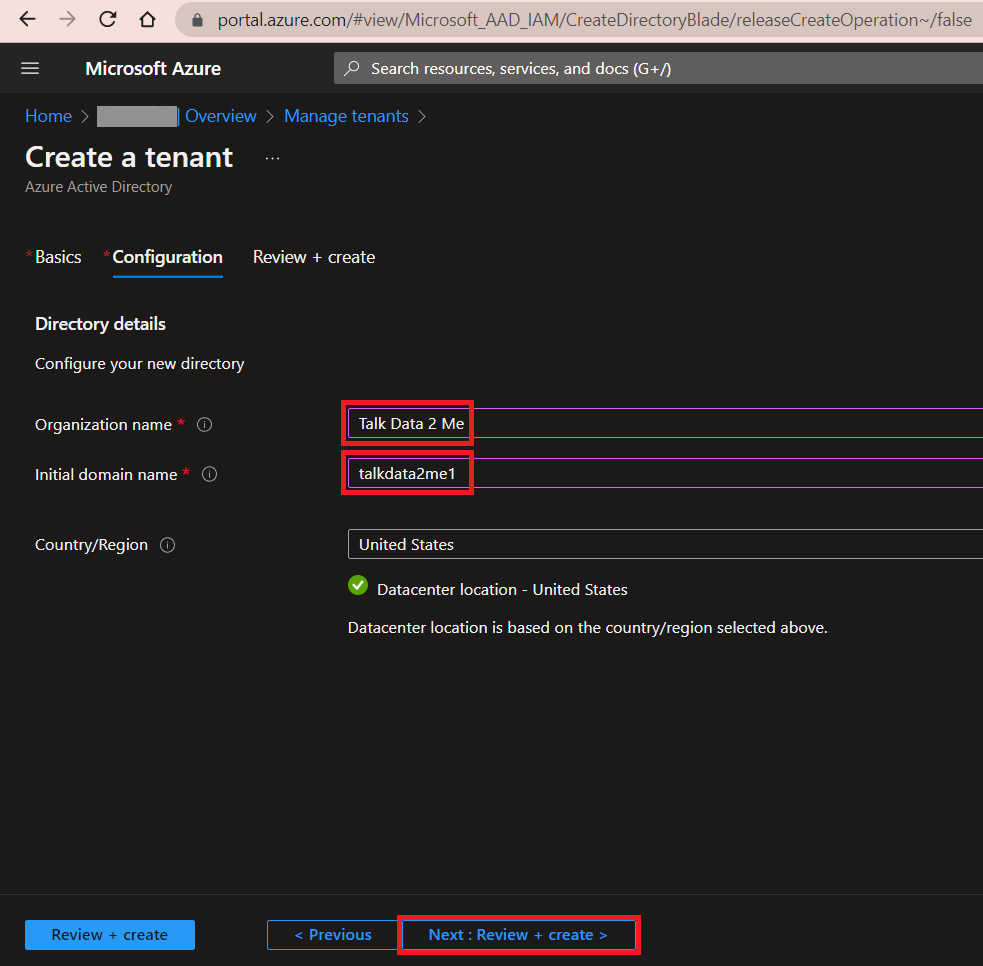
-
On the Create Tenant screen, confirm your settings and click Create.
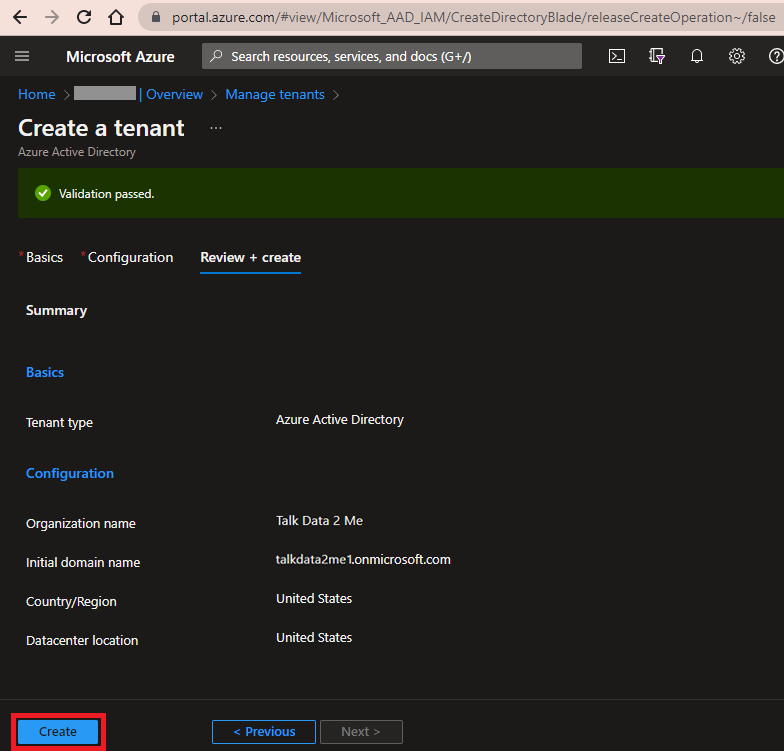
-
Azure will automatically switch your portal view to the new tenant. Click Users.
-
Since you created the new tenant using an exiting Azure account, that account is automatically added as an external user to the new tenant and that user is granted Global Admin privilege to the new tenant.

Set Up a Break Glass Account
The first thing you should do in a new tenant is to ensure you have a break glass account so that you don't risk losing access to the tenant. More information about this is located at docs.microsoft.com.
I typically create two global administrator accounts and use one of these as the break glass account and the other for administration of the sandbox tenant.
-
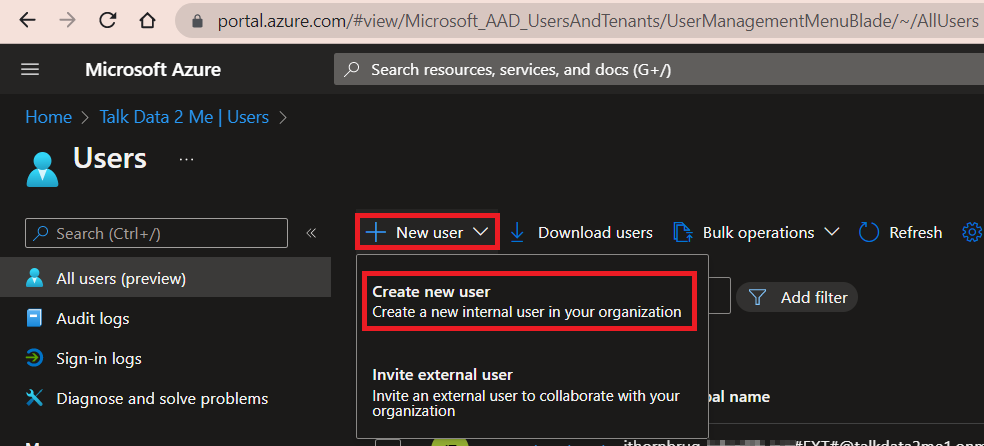
Click New user → Create new user
-
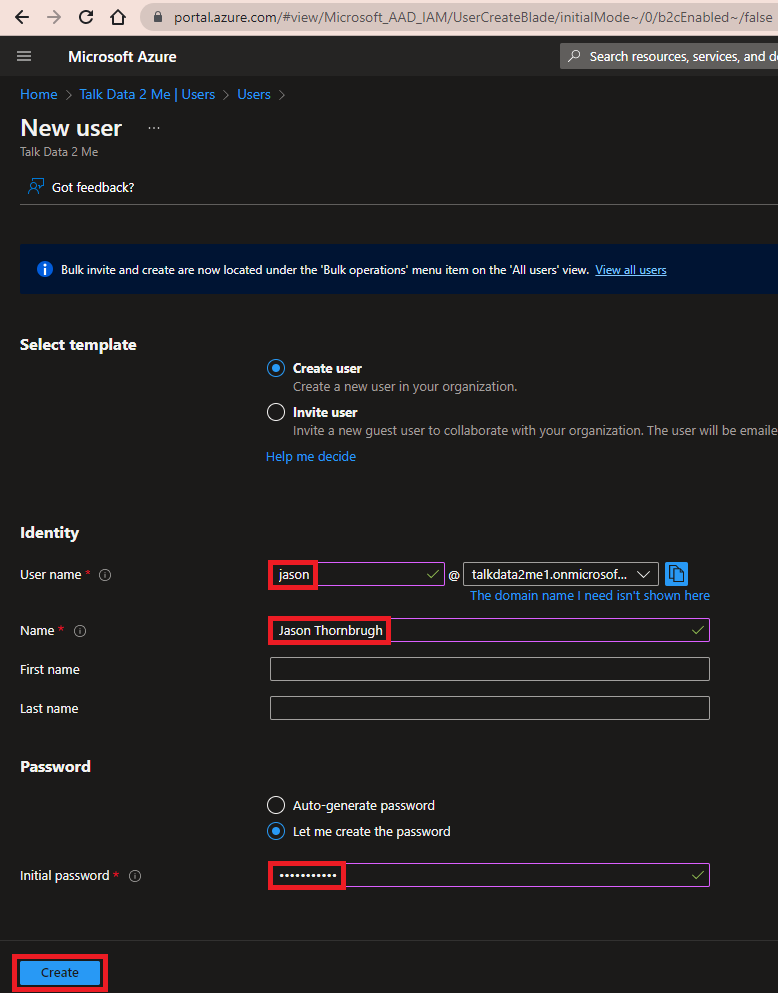
Set User name and Name. Set Password to Let me create the password and enter the Initial password. Click Create.
-
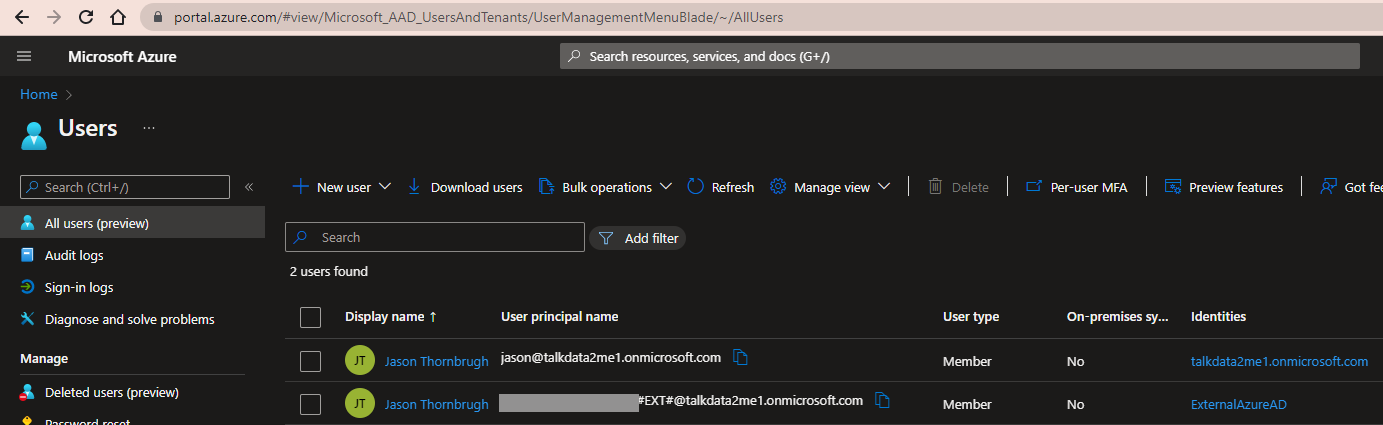
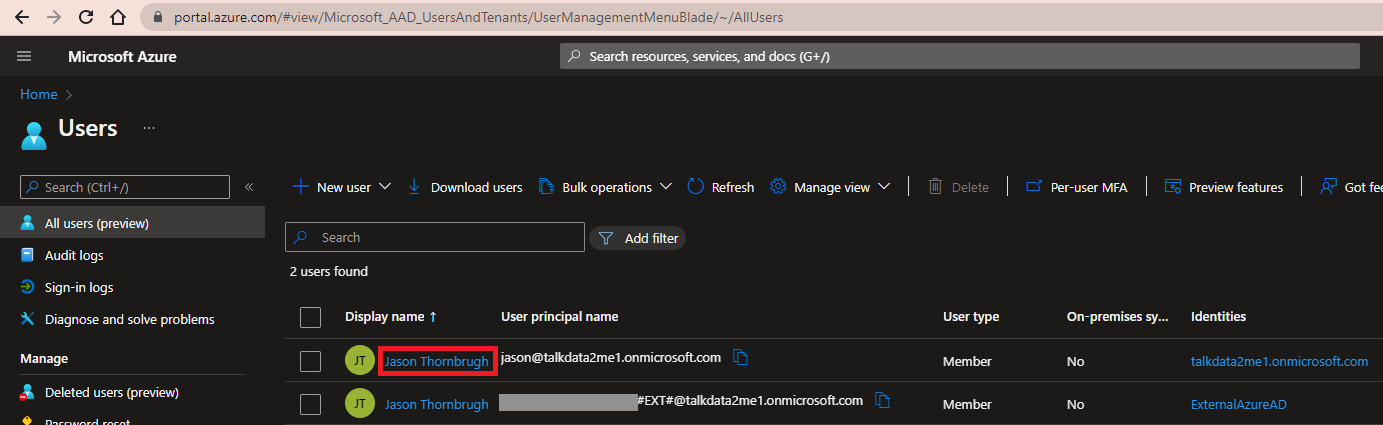
You should now see a local identity in addition to the external identity from earlier.
-
Click on the user you just created.
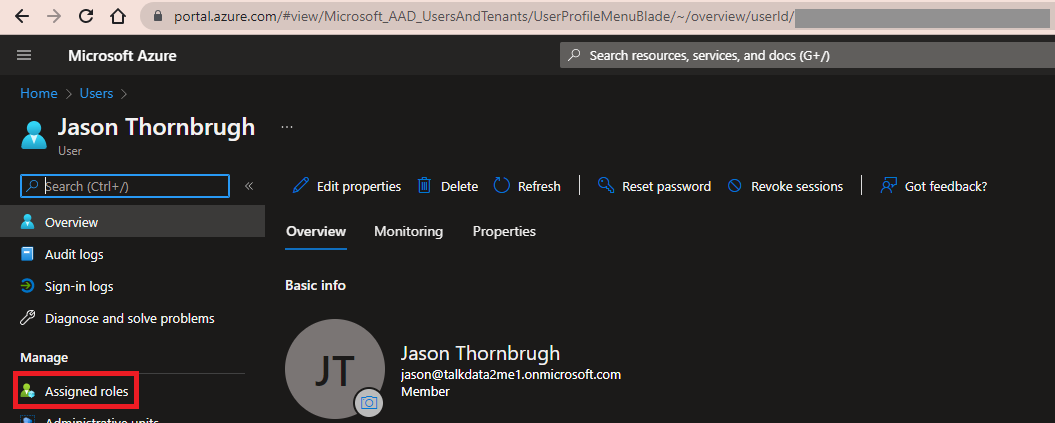
-
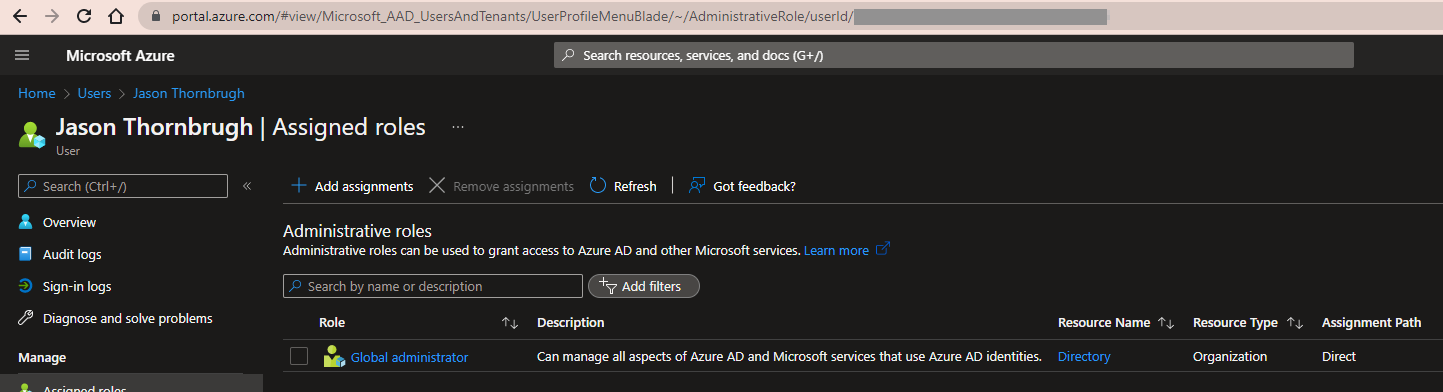
Click Assigned Roles.
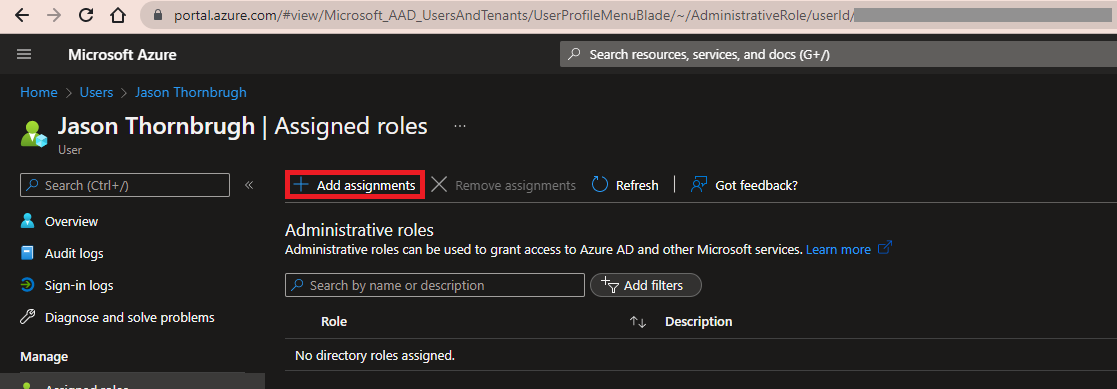
-
Click Add assignments.
-
Search for the role Global administrator, select it and click Add.
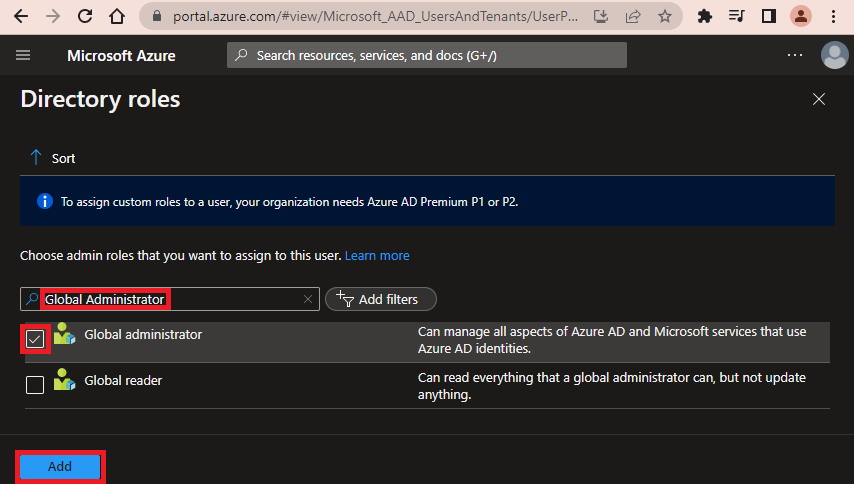
-
You should now see the Global administrator role assigned to the user.
Switching Tenants
If you're logged in with an Azure user that has access to multiple tenants, you can select which tenant you're managing. (A better approach than constantly switching tenants will be described below.)
-
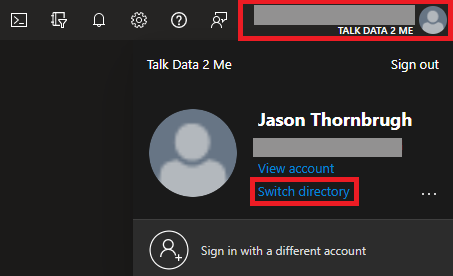
First, determine which tenant you're managing by looking below your user name in the upper right of the portal. The tenant is identified as TALK DATA 2 ME. For safety, get used to checking here frequently if you are working with multiple tenants and/or multiple credentials.

-
To change tenants, click on your user name and click Switch directory.
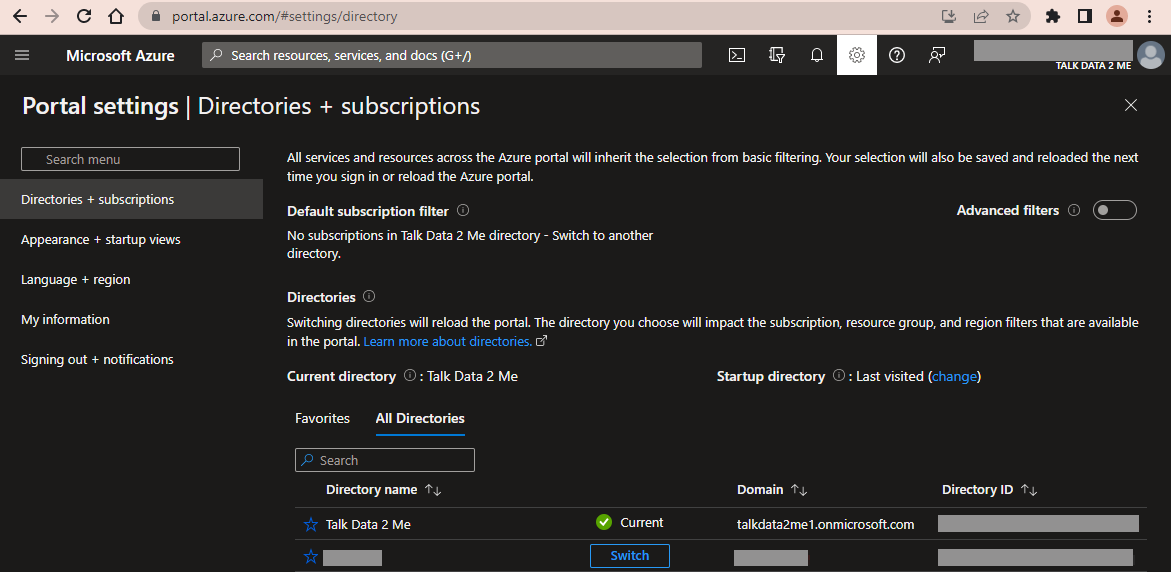
You can also Switch directories by clicking the Settings gear icon.

-
Click Switch next to the directory that you want to switch to.
Manage Multiple Tenants with Browser Profiles
In order to avoid making changes in the wrong tenant, I strongly reccommend setting up browser profiles. This will allow you to create color coded browsers that manage separate session states for a particualr login and tenant. The following example is in Chrome, but similar functionality is available in Microsoft Edge and other browsers.
-
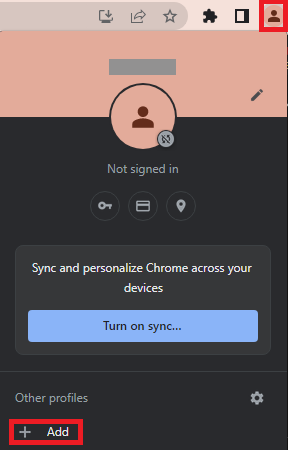
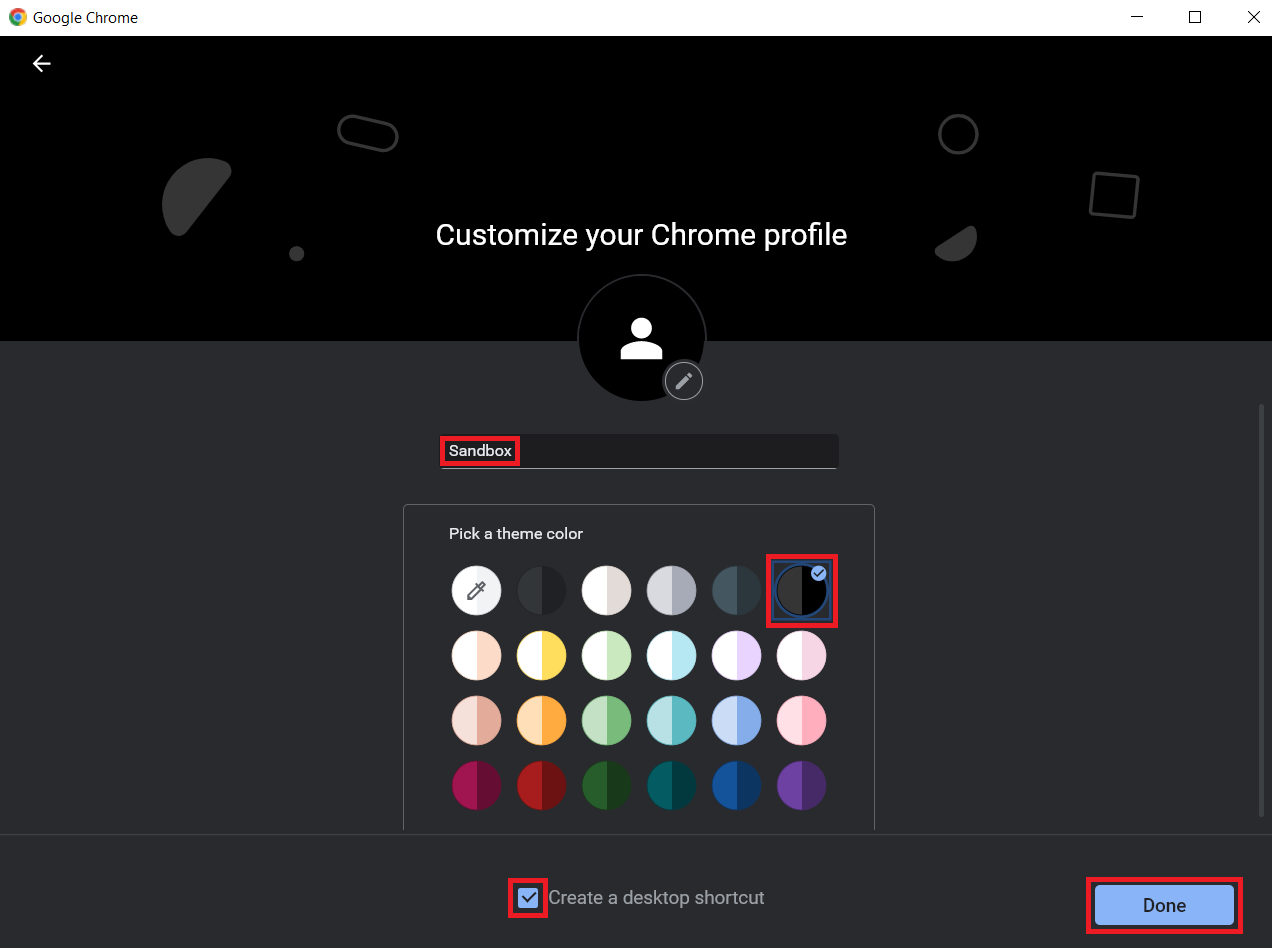
Click the Profile icon and click Add.
-
Enter the Profile name and select a theme color. I suggest signaling colors. You never forget the first time you confuse prod with dev. 😅 (I usually use red for production and black for my sandbox.) Check the box for Create a desktop shortcut and click Done.
-
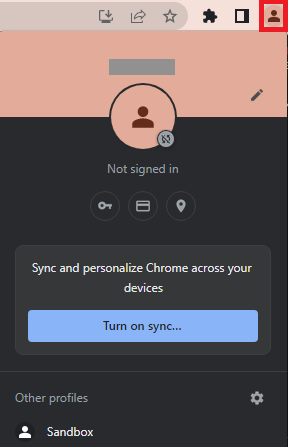
You can then select the new profile under Profiles, or launch the shortcut from your desktop.
-
I prefer to pin profile shortcuts to the taskbar for the ultimate ease of use.

-
Open your Production browser profile and login with your production account. ONLY use this browser profile with your production account and tenant. (That is unless you need to "break glass" in your sandbox tenant.)
-
Open your Sandbox browser profile and login to your sandbox tenant with the sandbox account that you created above. ONLY use this browser profile with your sandbox account and tenant.
So there you have it. You've set up a sandbox tenant. Now you can experiment with Azure Active Directory freely using your sandbox tenant.
Next week, we'll learn how to Use Your Visual Studio Azure Credit.